DIY - Tassen bemalen mit den neuen PINTOR Stiften von Pilot Pen. Mr. Right und Mr. Always Right Tassen selber machen. Neben Porzellan und Keramik kann man damit auch Stoff, Holz, Metall und diverse andere Materialien bemalen. Die PINTOR Stifte von Pilot Pen sind eben echte DIY Alleskönner

Tea Time with PINTOR by Pilot Pen

Paint cups – DIY with the new PINTOR pens from Pilotpen

Hi Unique,

slowly this sad, grey weather really gets on my nerves, so I’ve been thinking about a solutuion: How could one spend such a cold, wet day better than at home, cuddled in a blanket with a warm tea and kitschy films? All right, maybe if you do just that in pairs, with your best friend, with your sister or maybe with your boyfriend.

But there is something else that I like to do on such days: DIY projects. I love turning on the music and letting my creativity run wild. Especially before Christmas or birthday parties I am in my element. But even if there’s nothing to do, Pinterest is always a great source of inspiration 😉

Two completely different activities for sad days that don’t fit together, do they?

Together with Pilot Pen’s new DIY PINTOR pencils, I would like to show you today that both are a perfect match.

DIY - Tassen bemalen mit den neuen PINTOR Stiften von Pilot Pen. Mr. Right und Mr. Always Right Tassen selber machen. Neben Porzellan und Keramik kann man damit auch Stoff, Holz, Metall und diverse andere Materialien bemalen. Die PINTOR Stifte von Pilot Pen sind eben echte DIY Alleskönner

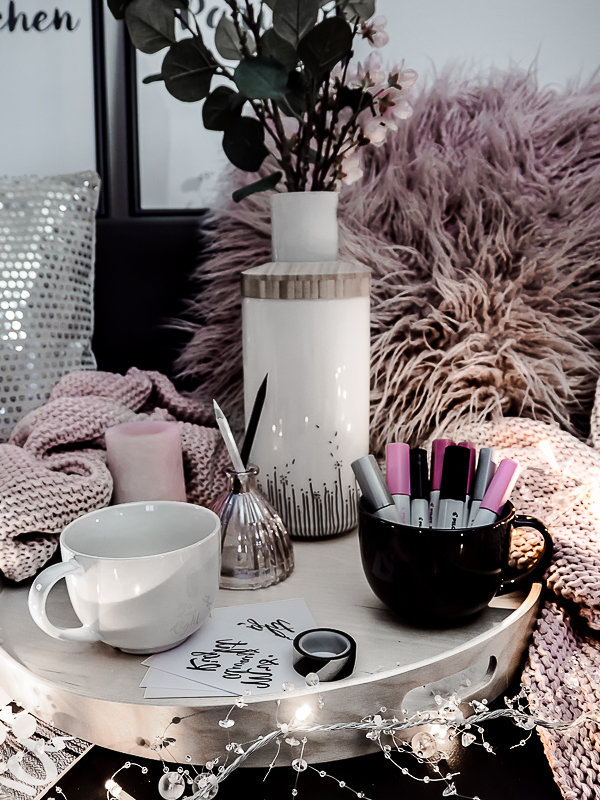
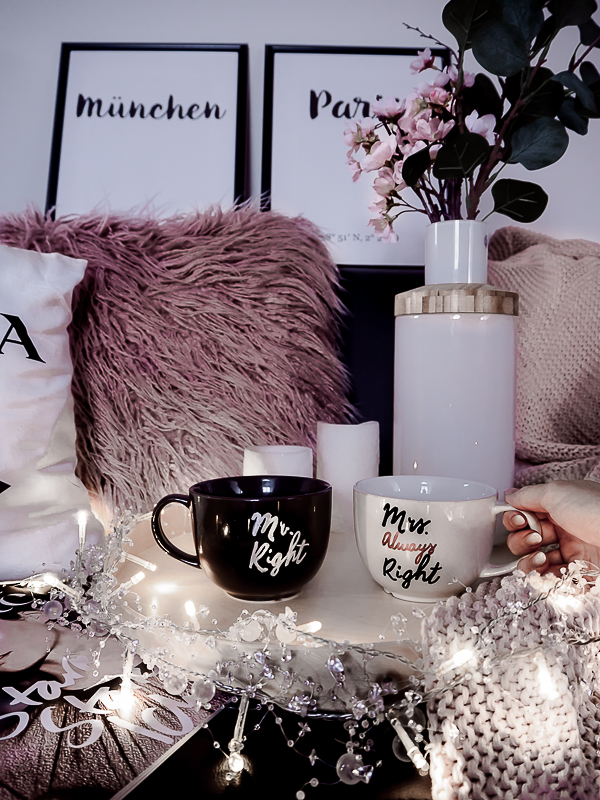
Tea Time – My PINTOR DIY Project

A warm tea is certainly part of such a cosy afternoon. Anyone can buy cups – but individual cups? So I decided to design my purchased cups individually. Thanks to the new Pintor pencils, this is super easy and super fast.

Whatever you need:

  • – 2 cups of your choice
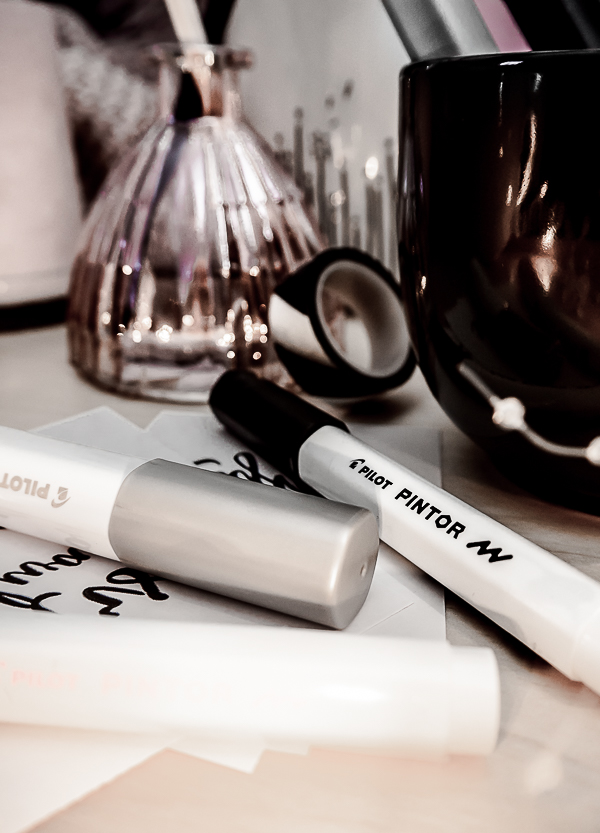
  • – your favourite PINTOR colors
  • – your choice of lettering
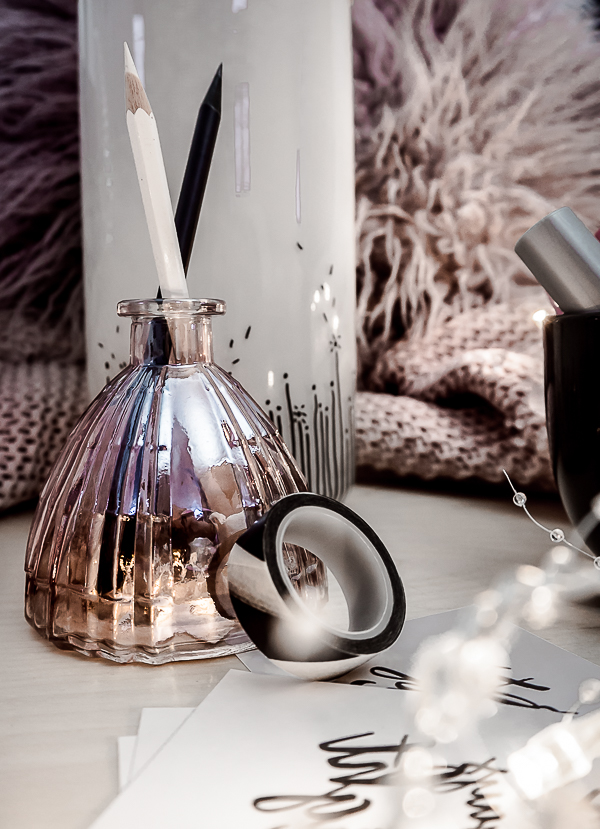
  • – a soft pencil, a white colored pencil
  • – an oven
  • – a fixing spray

DIY - Tassen bemalen mit den neuen PINTOR Stiften von Pilot Pen. Mr. Right und Mr. Always Right Tassen selber machen. Neben Porzellan und Keramik kann man damit auch Stoff, Holz, Metall und diverse andere Materialien bemalen. Die PINTOR Stifte von Pilot Pen sind eben echte DIY Alleskönner

Step by step instruction – paint cups with PINTOR pencils

Step 1: The lettering

Think about what you want on the cups. If you are not a calligraphy talent like me, you can write your text in a text editor of your choice. It is only important that you mirror the text at the end.

Also pay attention to the size and shape of your cup – the stronger the curve, the harder it gets later 😉

Now all you have to do is print and cut the text. Cut generously around your text.

DIY - Tassen bemalen mit den neuen PINTOR Stiften von Pilot Pen. Mr. Right und Mr. Always Right Tassen selber machen. Neben Porzellan und Keramik kann man damit auch Stoff, Holz, Metall und diverse andere Materialien bemalen. Die PINTOR Stifte von Pilot Pen sind eben echte DIY Alleskönner

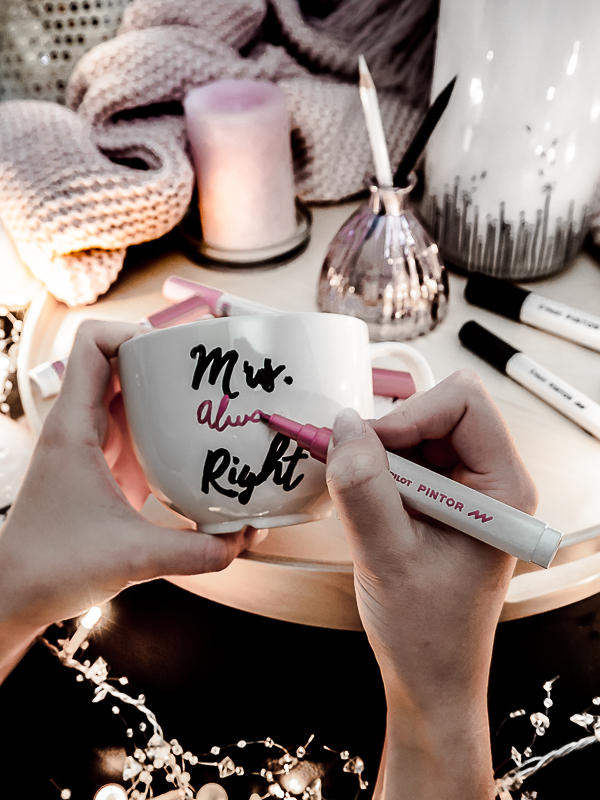
Step 2: The Transfer

Well, how does the lettering get on the cup? Quite simply! Paint the (mirrored!) Lettering with a soft pencil. For black or dark cups a white colored pencil is better suited. It’s best to repaint the font twice – better safe than sorry 😉

Now attach your paper to the cup with some Tesa. Make sure that the described side lies flat on the cup and does not stick the Tesa over your writing. All you see now is a white paper sticking to your cup.

Now you start to paint with the soft pencil over the paper. Apply a firm pressure, because this will transfer the writing to the cup. Once you have painted over all the text areas, you can carefully remove the paper and voilà – here is your perfect template.
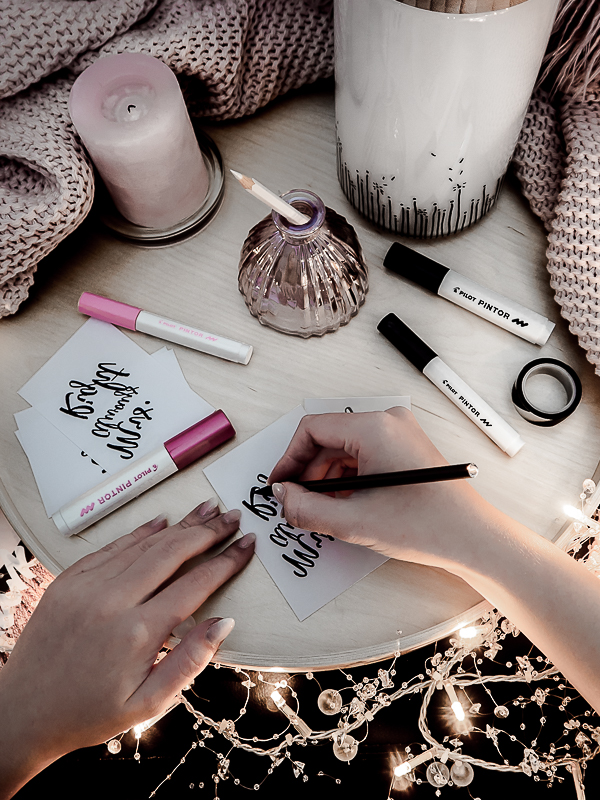
DIY - Tassen bemalen mit den neuen PINTOR Stiften von Pilot Pen. Mr. Right und Mr. Always Right Tassen selber machen. Neben Porzellan und Keramik kann man damit auch Stoff, Holz, Metall und diverse andere Materialien bemalen. Die PINTOR Stifte von Pilot Pen sind eben echte DIY Alleskönner

Step 3: Painting

Now all you have to do is choose your favorite colors from the PINTOR color range and follow the text that has been copied. Of course, you can also combine colors to create a few highlights. It is only important to shake the pens before using them. Even a short sample text on paper can’t hurt. If you make a mistake or just want to try something – no problem, because all colors are still washable with water.

Smaller mistakes can be corrected easily with wet cotton swabs 😉 So allow your creativity free bent and dare to try something.

Of course, the colors should not be washed off every time you rinse. This is why the cups are now placed in the oven at 220 degrees Celsius for 40 minutes to fix the colors. Depending on the thickness of the ceramic, it may take a little longer or shorter.

Now all you have to do is let your artwork cool down and your personal cups are ready for a cosy, cuddly time on dull days.

Quick Tipp: A fixing spray is the perfect finish for your awesome work.

DIY - Tassen bemalen mit den neuen PINTOR Stiften von Pilot Pen. Mr. Right und Mr. Always Right Tassen selber machen. Neben Porzellan und Keramik kann man damit auch Stoff, Holz, Metall und diverse andere Materialien bemalen. Die PINTOR Stifte von Pilot Pen sind eben echte DIY Alleskönner

With this fast DIY you will not only pass the time during this weather, but you will also put a smile on your guests’ faces.

With the Pintor pencils you can not only paint cups, but also various other materials and objects – real all-rounders, so to speak. At the same time, you can also choose between two strengths and so implement all your ideas, no matter whether very filigree or rather flat, quite simply. So there are no limits to your creativity.

DIY - Tassen bemalen mit den neuen PINTOR Stiften von Pilot Pen. Mr. Right und Mr. Always Right Tassen selber machen. Neben Porzellan und Keramik kann man damit auch Stoff, Holz, Metall und diverse andere Materialien bemalen. Die PINTOR Stifte von Pilot Pen sind eben echte DIY Alleskönner


Posted

in

by

Tags:

Comments

19 responses to “Tea Time with PINTOR by Pilot Pen”

  1. Biggi Avatar
    Biggi

    Super DIY, ganz nach meinem Geschmack, easy schnell und trotzdem sehr effektvoll.
    So kann man je nach Anlass wunderbar personalisierte Geschenke zaubern.
    Deine wunderschönen Bilder machen mir Lust gleich loszulegen, also her mit diesen tollen Stiften.
    Alles Liebe
    Biggi

    1. Sassi Avatar

      Liebe Biggi, das freut mich wirklich sehr 🙂
      Ganz genau – ich liebe personalisierte Geschenke ja sowieso 🙂
      Viel Spaß beim Ausprobieren 🙂

  2. Filiz Avatar

    Wie schön die Tassen geworden sind! <3 Jetzt fehlt mir nur noch die richtige Tasse. Ich suche schon so lange nach einer großen bauchigen Tasse… Die Stifte hätte ich ja schon :)))

    Hab ein schönes Restwochenende. Und danke für‘s Verlinken! Ick freue miiiiir!

    Liebe Grüße,
    Filiz

    1. Sassi Avatar

      Liebe Filiz, vielen, vielen Dank *_* Die Tassen hier sind übrigens von IKEA 😉
      Hab auch ein schönes Restwochenende 😉

  3. The stylish duck Avatar

    Das ist ja wirklich mal eine tolle Idee. Klasse ! Hab einen schönen Sonntag 🙂

    LG Carina

    1. Sassi Avatar

      Vielen Dank meine Liebe 🙂

  4. Shadownlight Avatar

    Die Tassen gefallen mir sehr sehr gut!
    Liebe Sonntagsgrüße!

    1. Sassi Avatar

      Dankeschön meine Liebe 🙂

  5. Ayshi Avatar
    Ayshi

    Wow, wieder mal super schöne Bilder und eine tolle Idee. Sowas kann man immer wieder gut verschenken 🙂 Ist nicht zu aufwendig, dafür aber absolut persönlich 🙂

    1. Sassi Avatar

      Danke liebe Ayshi 😉

  6. Andrea Avatar

    Aww ist das schön geworden! Ich habe damit auch Tassen bemalt 🙂

    1. Sassi Avatar

      Danke meine Liebe 🙂

  7. S.Mirli Avatar

    Du müsstest mich gerade sehen, ich sitze mit offenem Mund da – du Künstlerin, bitte wiiiiie genial schauen die Tassen aus und die Stifte sind ja mal die tollste Erfindung überhaupt. Ich brauche die auch, das ist so eine schöne Geschenksidee und so persönlich. VIiiielen Dank für den tollen Tipp. Ich wünsche dir eine ganz fantastische Woche, alles alles Liebe und übrigens, das Titelbild ist der HAMMER; LOVE IT. x S.Mirli
    http://www.mirlime.com

    1. Sassi Avatar

      Haha oh Gott bist du süß *_* Das freut mich wirklich riiiiiesig 😉 <3
      Sehr sehr gerne und ganz viel Spaß beim Ausprobieren 🙂 Danke meine Liebe *_*

  8. Judith P. Avatar

    Toll hast du das mit dem Lettering auf den Tassen umgesetzt. Ich kann leider nicht so gut auf runden Tassen schreiben und habe deine Anleitung zu spät gesehen. Aber ich habe in meinem neuesten Blogartikel auf diese Anleitung hier verlinkt.
    https://youdid.blog/schwarz-weisse-ostereier-und-upcycling-katzennaepfe-mit-pilot-pintor/

  9. Milli Avatar

    Ich finde das DIY super schön und besonders als Geschenkidee richtig toll. Allerdings habe ich was malen und zeichnen angeht zwei absolut linke Hände. Bei mir würden die zwei Tassen niemals so schön aussehen.

    Liebe Grüße, Milli
    (http://www.millilovesfashion.de)

    1. Sassi Avatar

      Danke meine Liebe das freut mich 🙂
      Ich bin eigentlich auch kein Talent bei sowas, aber durch die Übertragung geht es echt super easy 😉

  10. Vesna Avatar

    Die Tassen sind ja super schön geworden!
    Liebe Grüße

Leave a Reply

Your email address will not be published. Required fields are marked *