we take pictures every day, out of the fear of forgetting and to keep our favourite moments. However, the most pictures will never be seen again after the shooting. Only a few make it into a picture frame – Images with our loved ones or memorable moments. So why should the picture frame for our special memories not be special too?
For this reason there is a glittering DIY again today. Since a normal white photo frame as is a bit boring as decoration in my opinion, I decided to pimp it up a.
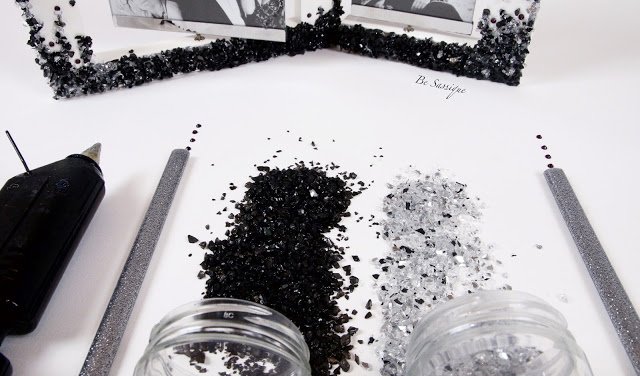
For this you need:
- Of course, a picture frame (mine is from TK-Maxx)
- Decoration granulate in the colours of your choice (I chose silver and black granulate from Ikea)
- A hot glue gun (I used glitter glue, but you can use normal transparent clue as well)
- a paper as an underlay
- For small highlights rhinestones in a colour of your choice
So let’s go:
In order to fix the stones you just put some clue on the frame and then sprinkle the stones above. After a short wait, you turn the photo frame upside down, so that the loose stones may fall down. The fallen stones can easily and quickly be taken back into the storage tray by using the paper underlay.
Just like this you go step by step along on the photo frame. The more I came to the outer edges, the more silver stones I have used. This creates a smooth transition from all black to a light-dark mixture.
The stones are very massive, which is why it would be too much to decorate the whole picture frame like this. Instead, you phase the deco slowly out. For this you don’t carry on with more adhesive surfaces, but put only thin strokes of clue on the frame. The fact that you don’t stick every stone individually by hand, it looks more natural and not so intended. In addition, it saves a lot of time: D
Finally, I glued a few purple rhinestones on the frame as little highlights.
Now you have to choose your favourite picture / pictures and you have a very individual eye-catching frame, which does your special memories definitely justice: *
How do you like the DIY?
Leave a Reply